At Home Pedicure to Save Money
This post contains affiliate links from which I make commission. As an Amazon Associate, I earn from qualifying purchases.

Mortified to be putting this on the internet, so I hope you all enjoy.
I know the before photo of my heel was a bit of a jump scare. I had abdominal surgery and had a really hard time bending over at all for a month. So I decided what better time than to let my heels get really bad, and show the world my at home pedicure.
What do I do to make my feet so angry you ask? Well, I live in California so flip flops are a constant in the summer, I swim (which dries out my feet), and I garden. But the most honest answer is that I hate my feet being enclosed. Socks, shoes, a man’s strong hands… Whatever it is, I don’t like it on my feet.
Because of my strong dislike of wearing socks, I need frequent pedicures. I am on a debt-free journey currently, so I tried out a bunch of products and methods for the best at home pedicure. The initial investment is pretty low, you can get everything needed for less than $100 total, and typically don’t need to repurchase anything for at least 2 months.
To make this as easy as possible for you, I made an idea list in my Amazon storefront with all of my favorite products, but I will also link them throughout the blog so if you only need one thing its an easier find.
Ok let’s get to the perfect at home pedicure!
Don’t forget the wine!
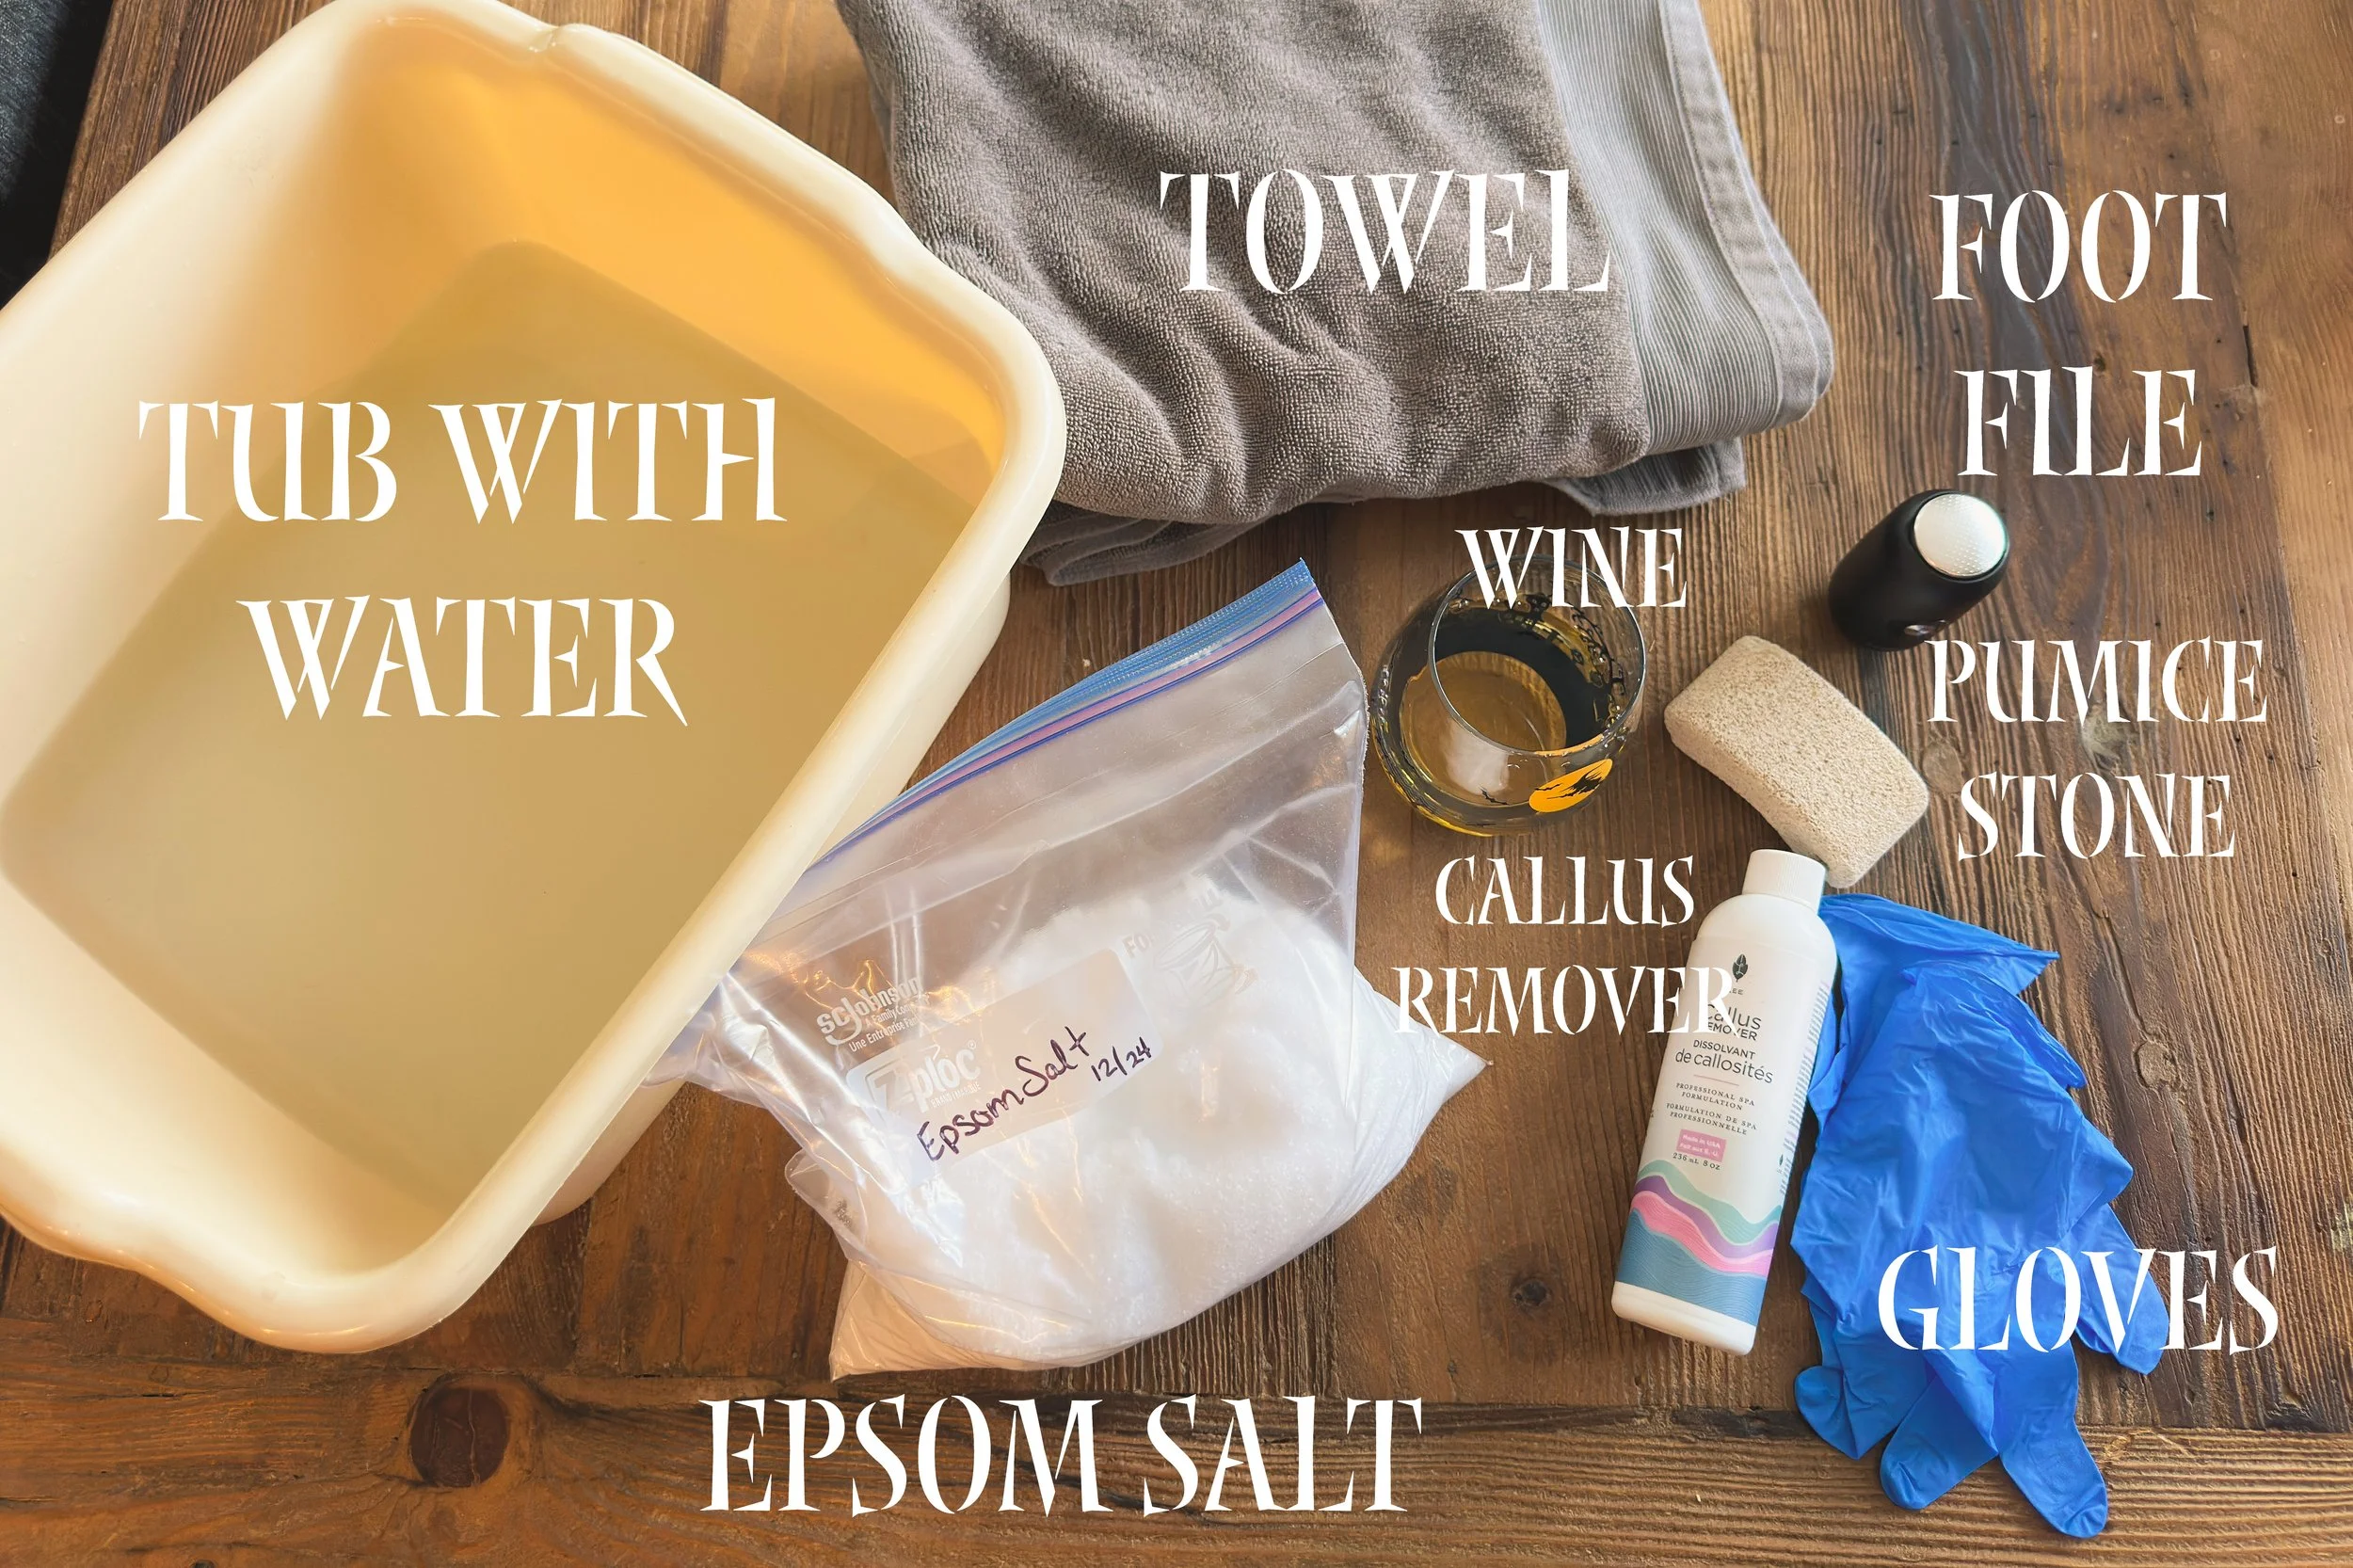
Supplies
You will need:
- A foot soaking tub (A bathtub also works, but I like to do this in my living room)
- A towel to put under the tub and to dry your feet on
- Epsom Salt - The salt is not totally necessary, but I do find it helps soften my skin a little more than just water alone.
- Callus Remover - Seriously don’t skin this step! This is the catalyst to getting that tough skin off.
- Gloves - If you have reusable gloves, they will work. For this I prefer disposable gloves.
- Pumice Stone - Not only for the pedicure, but I use a pumice stone every day in the shower, its a must have!
- Electric Foot File - I like this not only for the finishing touches on my pedicure, but I use this a lot when to touch up my feet between pedicures.
- Wine - Ok, you don’t need this, but who doesn’t love a pedicure with a glass of wine.
Now that you have the supplies ready, let’s get started!
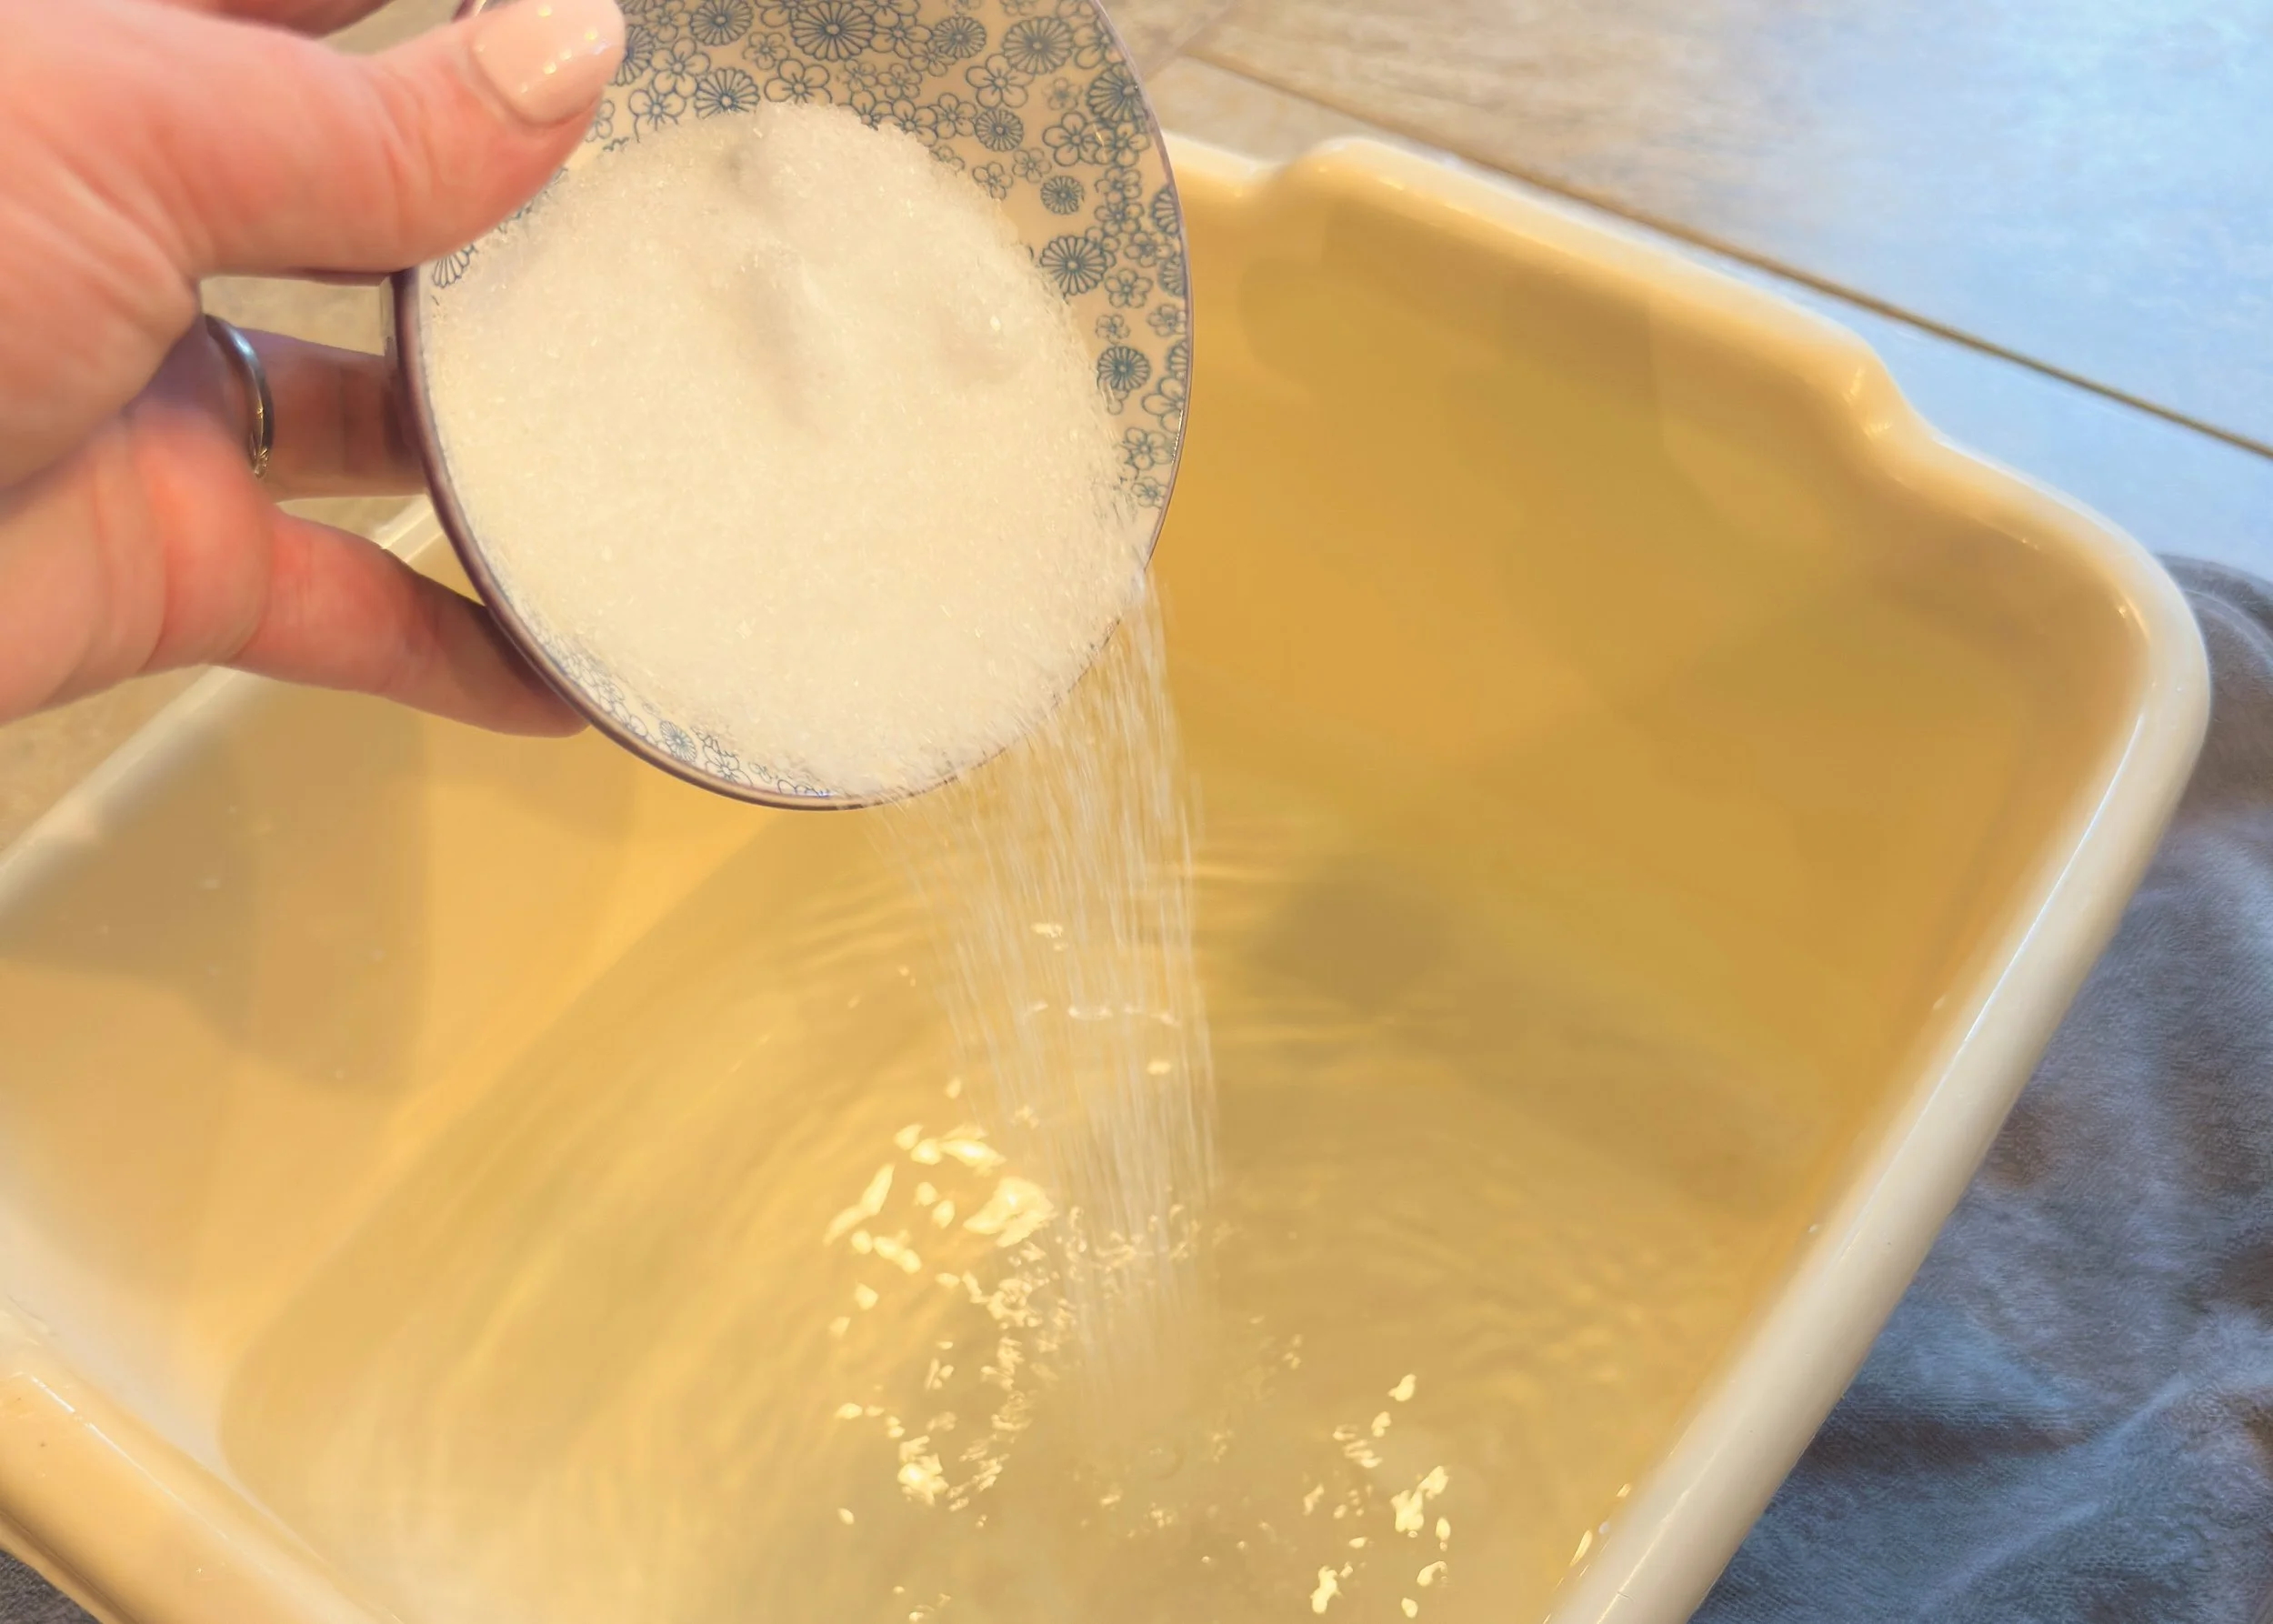
Epsom Salt can help with muscle relaxation, and also helps with skin health and exfoliation.
Step 1 - Place some water in a bucket or tub and add a healthy dose of Epsom Salt. I like to use a snack bowl for a little over a cup of salt. The water needs to be warm enough to help dissolve the Epsom Salt, but other than that, temp to your liking. Soak feet for 10-15 minutes
Step 2 - Relax, have some wine, put on a tv show, scroll social media. One of the things I love about pedicures at the salon is it’s an opportunity to relax and disconnect. This pedicure should also be a little relaxing. Treat yo self!
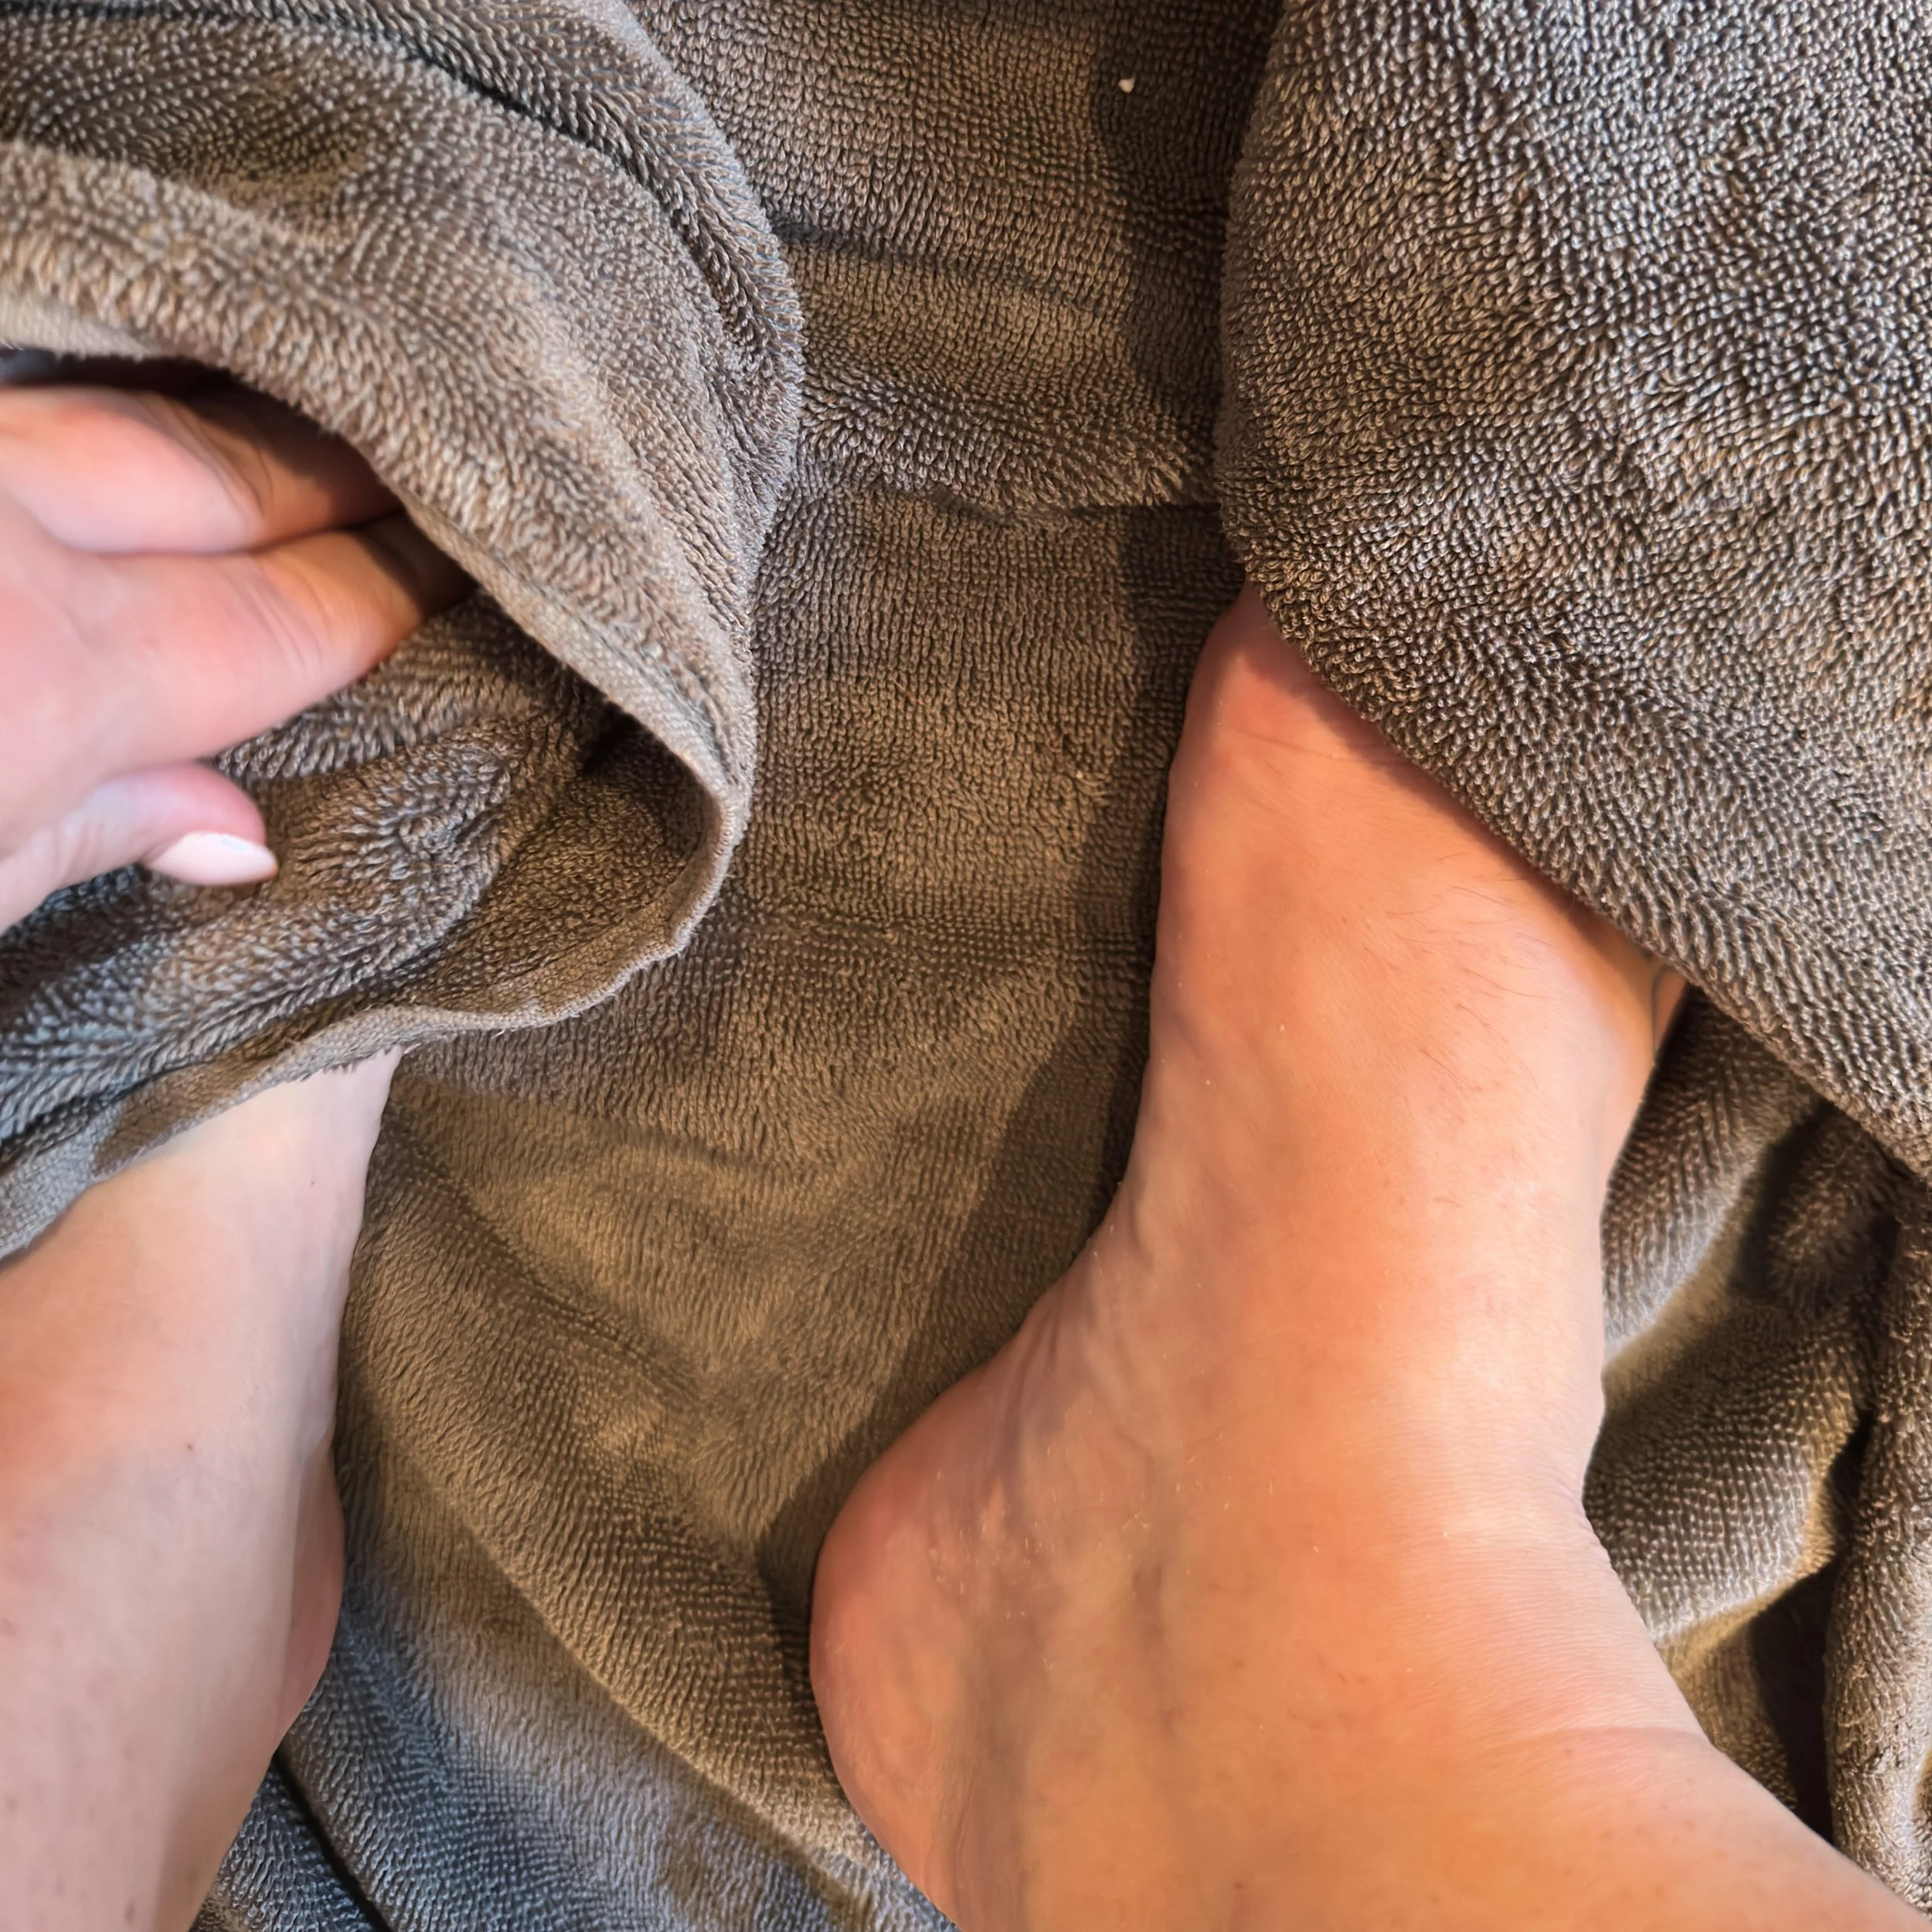
Gentle dry your feet with a towel just to get the extra water off.
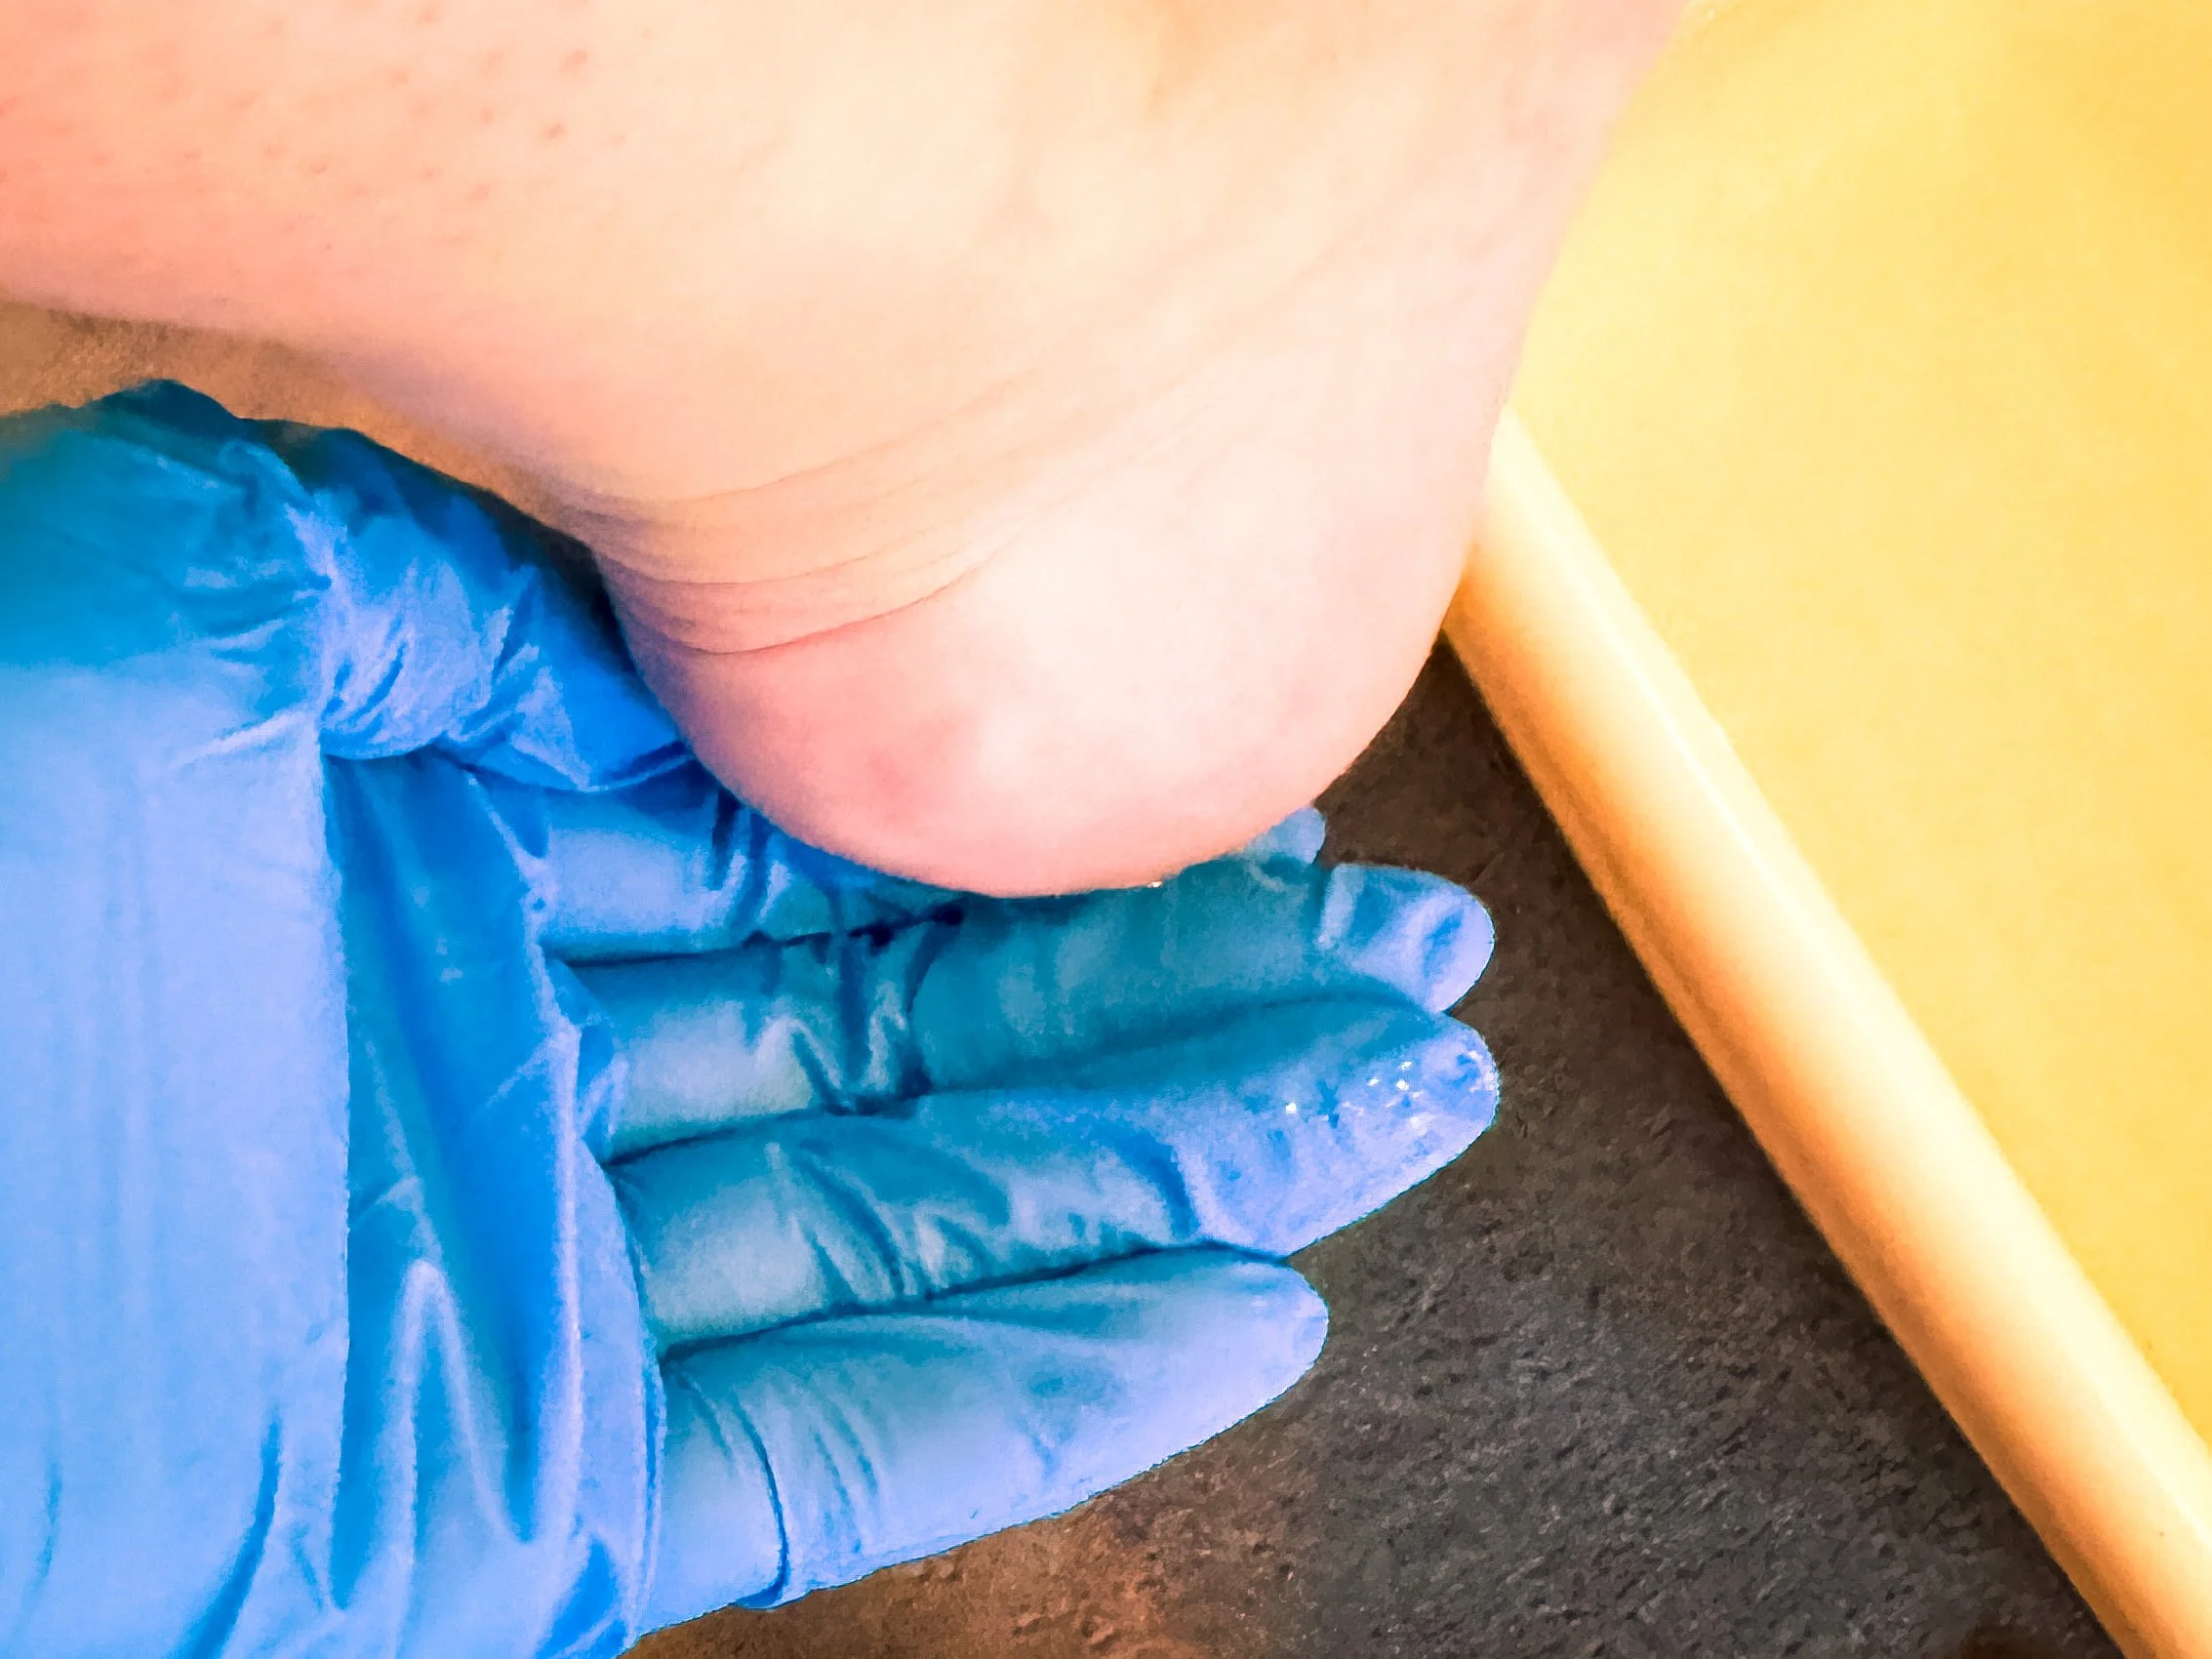
Step 3 - After about 10 minutes, remove your feet from the water. Wipe off excess water from your feet. Don’t dry them, just make sure the water won’t dilute the callus remover. Using a glove, apply Callus Remover to any tough skin on your feet. Try to avoid non-callused skin as it will make your skin flake. The Callus Remover should only be on your feet for about 3-7 minutes depending on your level of callus. I recommend setting a timer for this stage so you do not go too long.
Step 4 - After the 7 minutes, rinse the callus remover off your feet and pumice stone the sh*t out of your feet! The callus remover softens the skin, now it’s time to get it off your feet. I like a curved pumice stone but some people prefer the ones with a handle. Whatever your weapon of choice, don’t rush this step. You should be seeing some skin shed off, check feet after every few scrubs to ensure you don’t damage healthy skin.
Step 5 - Wash off your feet in the water and if some tough skin remains, touch up with the pumice stone.
Step 6 - If you feel that you would benefit from a second round of Callus Remover, repeat steps 3 through 5, getting your feet as smooth as possible. I have only had to repeat these steps a couple of times when I have been unable to tend to my feet. I have had several procedures due to 2.5 years of IvF which left me unable to tend to my feet for periods of time and that would be the only time that I really needed to repeat. Seriously, this stuff is amazing.
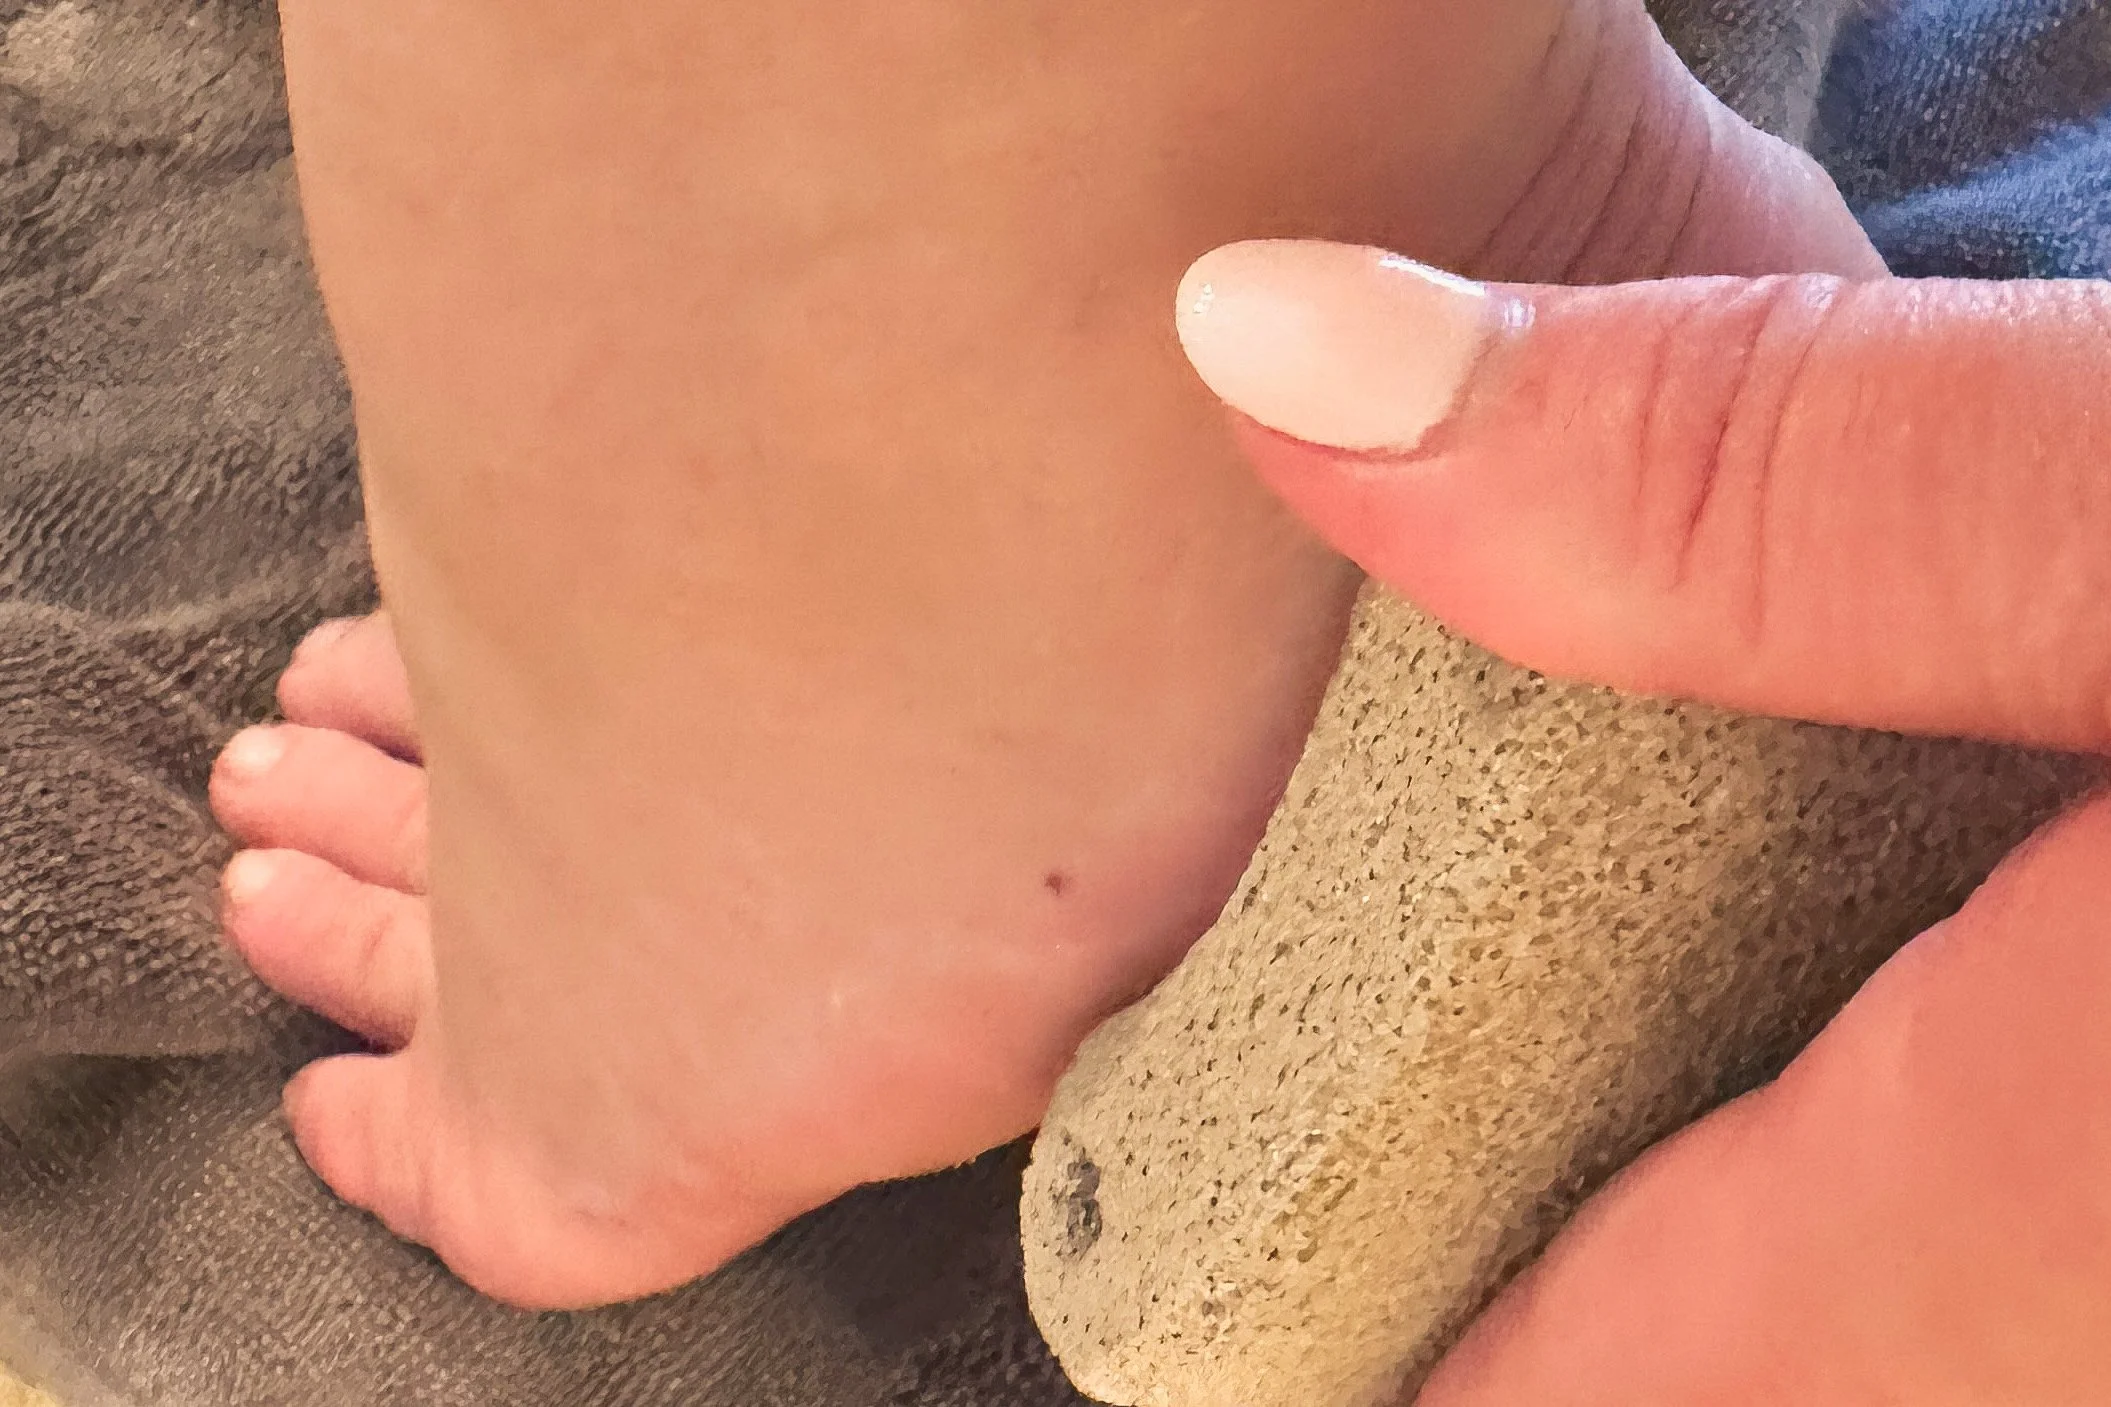
I use a pumice stone every day in the shower, but it’s also a must have for at home pedicures.
Step 7 - Once your feet feel nice and smooth, and you have cleaned off all of the excess Callus Remover and dead skin, dry them off really well. I like to take the towel rub them dry, this helps get off any extra dead skin, and then I typically let them air dry for a minute or two.
Step 8 - This is where I like to use the electric foot file. Once your feet are dry, use an electric foot file to go at the typical tough areas. The heels, the big toe, the outside edge. Just let the file do it’s thing and get anything that is left.

This electric foot file packs a punch, but also is compact and perfect for travel.
Step 9 - Ok, I didn’t add lotion in the supplies for the at home pedicure, but your feet are going to want some lotion. I pretty much only use this Cetaphil, but whatever your favorite one is, get those feet nice and moistened.
And that’s it! Depending on how dry my feet are, this pedicure can take me anywhere between 20 - 45 minutes, but its always worth it and I love the savings. I estimated that last year I spent about $1,000 on pedicures, and while I love getting a pedicure, I knew this was something that was going to save me a lot of money.
I also perform regular maintenance on my feet. I use a pumice stone every day, lotion after the shower and before bed and then occasionally use these feet masks. But I do warn you, these masks will make your feet peel, so don’t do them if you have an event that you want your feet looking great for.